1、安装依赖包
[root@localhost /]# dnf -y install gcc pcre pcre-devel zlib zlib-devel openssl openssl-develgcc:它可以编译 C、C++、Ada、Object C和Java等语言。
pcre pcre-devel:Pcre全称(Perl Compatible Regular Expressions),是一个Perl库,包括 perl兼容的正则表达式库,nginx的http模块使用pcre来解析正则表达式。
zlib zlib-devel:zlib库提供了很多种压缩和解压缩的方式,nginx使用zlib对http包的内容进行gzip。
openssl openssl-devel:openssl是web安全通信的基石,没有openssl,可以说我们的信息都是在裸奔
2、下载Nginx
[root@localhost nginx]# wget https://mirrors.huaweicloud.com/nginx/nginx-1.19.6.tar.gz
3、解压Nginx
[root@localhost nginx]# tar -zxvf nginx-1.19.6.tar.gz
4、进入解压目录
[root@localhost nginx]# cd nginx-1.19.6/
5、指定安装路径
[root@localhost nginx-1.19.6]# ./configure --prefix=/usr/local/nginx
6、编译和安装
[root@localhost nginx-1.19.6]# make && make install
7、运行Nginx(进入安装目录/usr/local/nginx/sbin)
[root@localhost sbin]# ./nginx
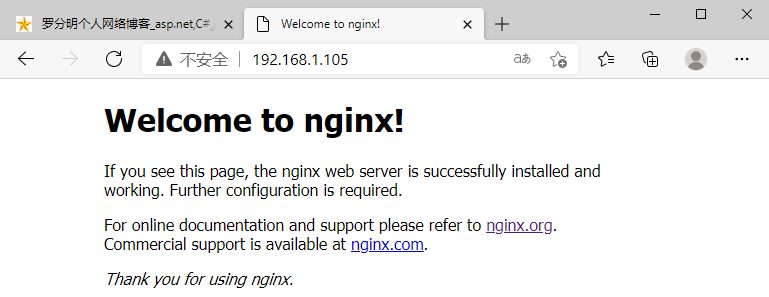
8、安装完成难结果,在浏览器输入能看到下面页面说明Nginx安装成功
./nginx -s stop (强硬)此方式相当于先查出nginx进程id再使用kill命令强制杀掉进程,这种方法比较强硬,无论进程是否在工作,都直接停止进程。
./nginx -s reload 重启nginx(不推荐此方法,推荐先停止在启动)
./nginx -s reopen reopening the log files 用来打开日志文件,这样nginx会把新日志信息写入这个新的文件中
添加多个反向代理服务端(进入配置文件目录/usr/local/nginx/conf)
[root@localhost conf]# vi nginx.conf编辑配置文件的核心代码
upstream myserver{
   server 192.168.1.105:5000 weight=1;
   server 192.168.1.103:5001 weight=1;
}

server {
    listen       80;
    server_name  localhost;

    #charset koi8-r;

    #access_log  logs/host.access.log  main;

    location / {
        root   html;
        index  index.html index.htm;
        proxy_pass http://myserver;
        proxy_connect_timeout 10;
    }
转载请保留 http://www.luofenming.com/show.aspx?id=ART2021020600001